At Growing Places Indy, we believe that everyone should have access to fresh, local produce. So not only do we sell or donate the produce that we grow, but we also love teaching the community how to grow their own food!
Did you know that recipients of SNAP (formerly known as food stamps) can use their benefits to purchase seeds and edible plants? This means that every $1 spent on seeds and growing supplies can turn into $25 worth of produce! Growing your own food can double the value of SNAP benefits over time. This is why we believe educating the community on simple gardening practices is vastly important. Growing your own food is cost-effective, healthy, engaging, and even fun!
This summer, we will be offering workshops where our farm experts will share their tips and tricks for starting and maintaining a vegetable garden. Come to one of our workshops if you want to start a garden but have no idea where to start!
Step #1 Decide what you want to grow
As a general rule, if you won’t eat it, don’t grow it! Instead, think about the fruits, vegetables, and herbs that you and your family enjoy eating. These should be priorities for your garden.
You will want to find which crops will grow best in your area from that list. Take into account the climate (i.e., first and last frost dates) and work together with nature to set your garden up for success. Local gardeners and farmers will know which crops do better than others.
Click here to learn more about the USDA’s Hardiness zones and microclimate.
Step #2: Choose a location
Your garden can be anywhere, depending on what space you have available. You can start growing your own food in your backyard, on your porch/deck, or even on the windowsill of your kitchen! Wherever you choose to plant, there is one crucial thing to keep in mind when choosing a location for your garden: sunlight.
Most importantly, most fruits and vegetables need full sun in order for produce to grow. This means at least five hours of direct sunlight per day. So, if you are somewhere in Indiana, choose a spot that gets the most sunlight possible!
Greens, herbs, and root vegetables will grow in partial shade. Consider the space you have available and figure out what foods will thrive in that location.
Step #3: Plan your garden beds
Considering the space you have available and what plants you would like to grow, you can now start to plan your garden beds.
Gardens come in all shapes and sizes: raised beds, sunken beds, vertical growing, container gardens, etc. Do a bit of research to find out which garden will work best in your space.
No matter which method you choose, always remember to give each plant enough space to grow. Seeds and transplants are tiny, but it will grow into a full plant that can be large. Overcrowded plants are less likely to thrive, compared to plants that have room to grow.
Step #4: Invest in basic gardening tools
Working with the right tools will make maintaining your garden much easier. If you can avoid it, don’t buy cheap plastic tools. Metal tools are less likely to break and will last longer than plastic. Take good care of your tools by keeping them clean and sharp, which will make them last even longer.
Basic garden equipment can include (depending on the size of your garden):
- Garden hoe
- Scuffle hoe
- Dirt rake
- Leaf rake
- Garden Shovel of D handle Shovel
- Hand tools
Step #5 Test your soil
Before you start planting anything, it is essential to understand what is in your soil. Do you have sand, clay, rocks, or a mix of everything? What is the pH of your soil? Most plants prefer a neutral pH (around 7), but some prefer more acidic soil (ex. potatoes) or alkaline soil (ex. cabbage).
Most importantly, what contaminates could be in your soil? For example, lead contamination can cause serious health problems and can easily leak into the soil from old house paint or nearby roadways with heavy traffic.
Fortunately, you are able to test for these contaminants and the pH of the soil through home testing kits. The Indianapolis Public Library has partnered with IUPUI’s Center for Urban Health to offer lead screening kits to the Indianapolis community, free of cost! Click here to learn more.
Step #6: Prepare the soil
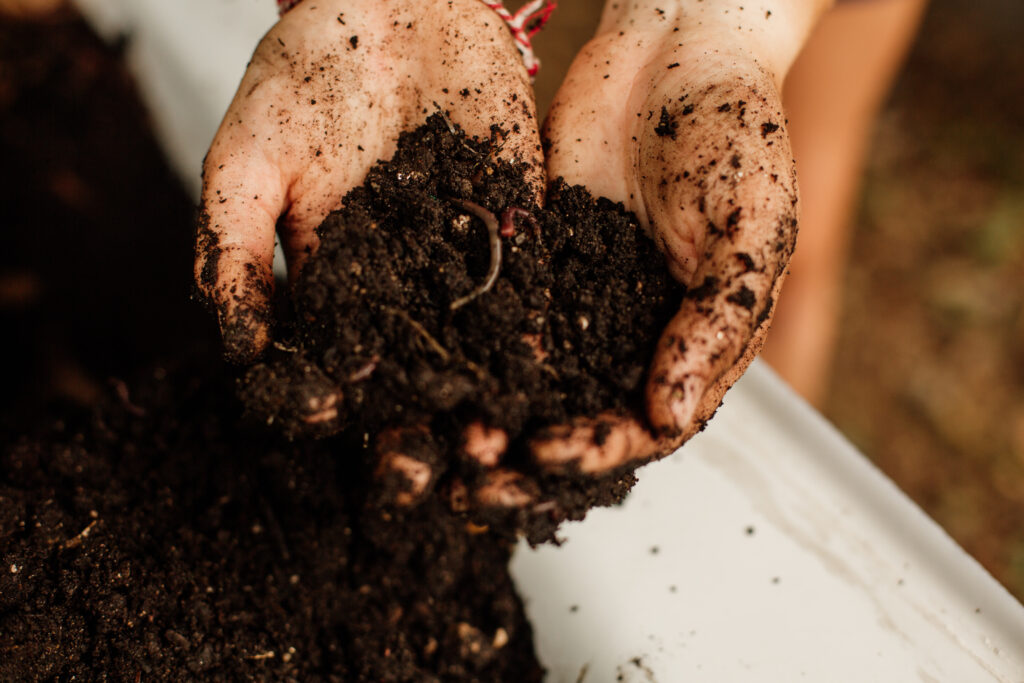
Keeping the soil healthy and full of nutrients is essential to having a successful vegetable garden. Plants need rich soil with organic matter to absorb nutrients and grow fruits and vegetables.
You can add a variety of different substances to increase your soil’s organic matter. For example, compost, worms, or mulch add significant amounts of organic matter and build healthy microbiomes in the soil.
We will be hosting a workshop on composting on Saturday, June 11. Click here to learn more and purchase tickets.
Additionally, it is important to make sure your soil can drain easily. For example, if you are planting in containers, ensure that you have drainage holes, so your plants do not drown in soggy soil.
Step #7: Choose the right seeds or transplants
Some plants are easier to grow from seeds, and others are easier to grow from transplants. If you are looking to grow a specific variety of plants, you will likely need to grow them from seeds.
Click here to learn more about when to start your seeds, both indoors and outdoors.
On the other hand, transplants are a great way to save money. When you are picking out transplants in the nursery, there are a few things to keep in mind. First, big plants in tiny pots are likely root-bound (meaning, their roots are tangled inside the pot). These transplants will likely not be successful when planted in the soil. Also, look for signs of insect damage or yellow leaves on the transplant. Starting with a healthy plant will help set you up for success.
Step #8: Plant with care
In general, follow the instructions on the seed packet or transplant containers. Here are a few tips to keep in mind while you are planting:
Transplants are meant to be buried at the same depth that they were growing in the pot.
Young plants are more susceptible to damage than older plants, so they may need some extra protection when they are first planted outside.
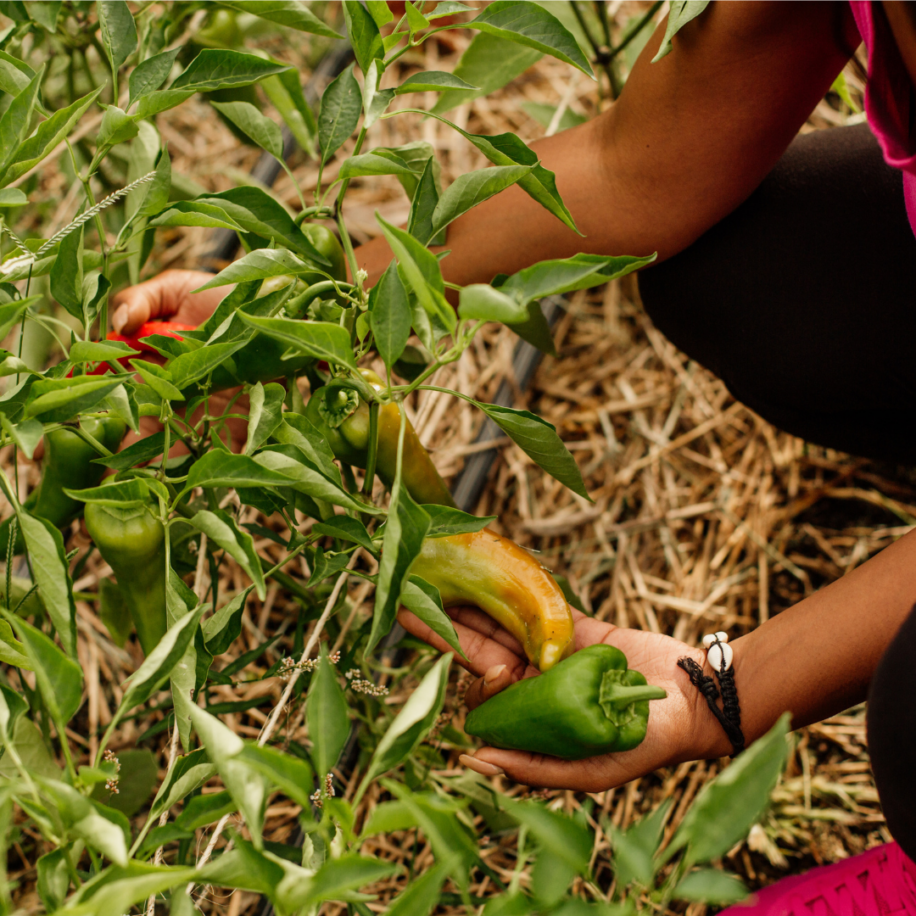
Wait until after the last frost before planting heat-loving plants (i.e., tomatoes, peppers, cucumbers, etc.).
Step #9: Nurture your garden
A successful garden is one that is nurtured. Make sure you build time in your schedule to tend to your garden. If you are tight on time, you may want to consider low-maintenance plants such as herbs.
As a general rule, plants need around one inch of water per week during the growing season. Our experts on the farm recommend giving your garden quick water every morning unless it is actively raining.
Over-watering can be as much of a problem as under-watering. If your seeds or roots are drowning in mud, they are likely to rot. Always check the soil before watering!

Step #10: Enjoy your harvest!
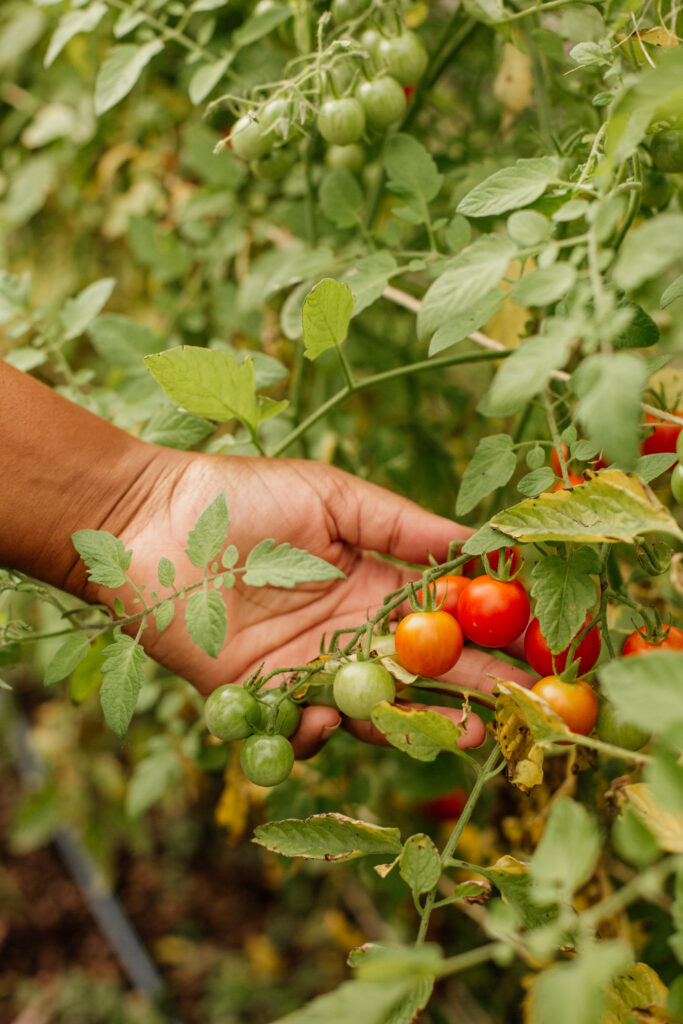
When your crops mature, make sure to harvest promptly for the best quality. A helpful tip is to harvest just after the morning dew has cleared, before the afternoon heat. This is when the flavor is typically at its peak, but feel free to sample and decide what best fits your tastes.
We will be hosting a workshop about techniques to store your produce after the season ends. It will be on Saturday, August 13. Click here to learn more and purchase tickets.
If you want to learn more about growing your own food, we will be offering workshops all summer! We have plenty of tips and tricks to share! Our next workshop is on May 14, 2022. We will be teaching basic garden upkeep techniques. Learn more and buy tickets here.